WIRING FIX
QUICK AND EASY (MOSTLY)
Wrench, Wire Cutters
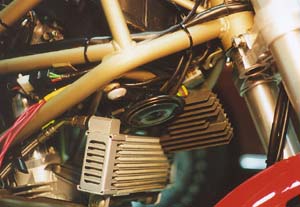
between the regulator and the alternator. The two plastic connections are prone
to resistance, and will eventually melt into a big ball of plastic and copper.
When I got my bike, there were already signs of this occurring, but like a fool, I
simply separated the wires and left it alone. Then, my tach started zeroing out
and I was hitting on one cylinder. I looked down to see that the whole mess was
beyond melted. So, after talking with some people, they suggested I remove the
connections and solder the wiring directly.
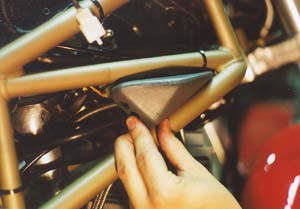
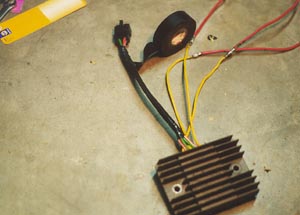
gain acces to the wiring.
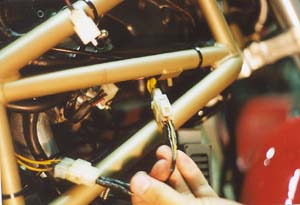
looking to replace. Note the
electrical tape from my
previous "fix".
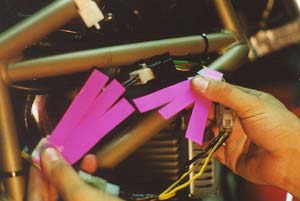
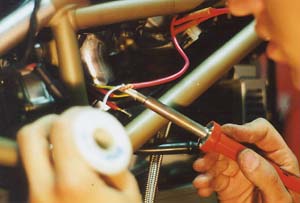
corresponds with which. Follow the wire from one end, through
the connection, and match it with the corresponding wire on the
other end, then mark it. The pink tabs are overkill, and I
simply ended up marking 1, 2, or 3 notches on the wires with a
permanent felt marker.
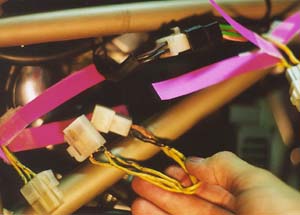
took some of the tape off. It was burnt
and bare, and was obviously causing some
problems.
as the wiring from the regulator you just cut. Then,
solder one wire directly to each of the three yellow
regulator to alternator wires. You can do this now, or
make it easier and wait until you have taken the
regulator out, which is the next step.
two green wire connection). Then, separate those wires from the
three alternator (yellow) wires and wrap them in electrical tape
for insulation.
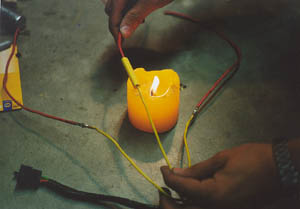
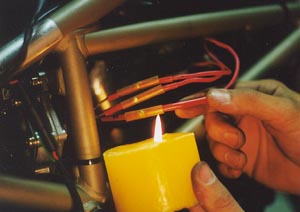
of the three connections you soldered
and heat them with an open flame.
individually with electrical tape up to the heat
shrink tube. This way, if one melts it will not
melt all three.
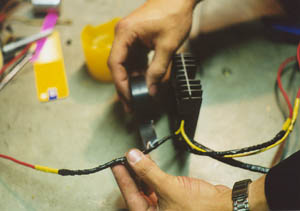
way they came. Then, take the three alternator
wires and run them separate. I did this to be able to
keep a close eye on them and also to make sure they
didn't melt any other wiring. They now go down over
the frame bar, and kind of underneath the horn,
then back behind the grey pod.
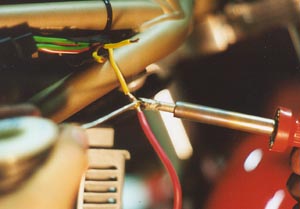
alternator doesn't have a lot of slack, you need to cut the
wires off VERY close to the plastic connector. Now, before
doing anything, put a piece of heat shrink tubing on each
of the three wires BEFORE you solder them. Then,
proceed to solder the three wires from the regulator with
the three new extensions (marked correspondingly of
course) to these wires. You need to kind of reach in to do
it, but it can be done with a little finnesse.
connection. It may be easier to do this with a
lighter or heat gun, but I was too lazy to go find one.
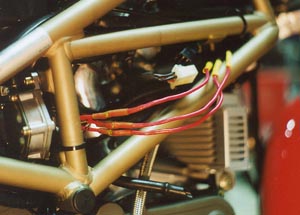
neatly and then put the grey pod back on and you're done. Be
sure to keep a constant watch on the connection to watch out
for signs of burning. I haven't noticed any yet, but will keep
looking. Good luck.
and views expressed herein are those of myself and do not reflect those of Ducati or its affiliates. The "DUCATI" logo and "Circle
D" are registered trademarks of Ducati Motor Holding, S.p.A., all other content on this website is copyright 2006, Monster Man
Productions.