ASSENDECTOMY
and Connectors, Wide Assortment of Wrenches
make. It is also one of the most visually rewarding. So, if you can bring yourself to
permanently modify your Monster's frame then you're ready to go!
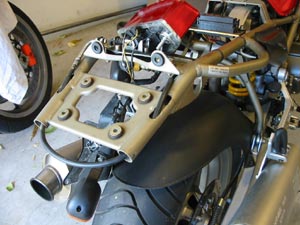
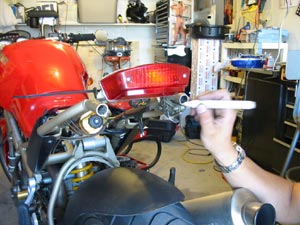
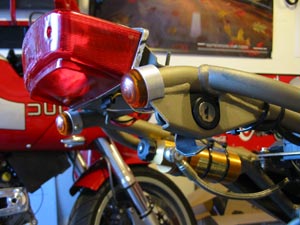
pristine frame! :( The point right behind the flat plate is a good
spot. I am using turn lenses that were left over from my MH900e
signal swap, and they fit perfectly over the frame tubes. The
lenses were from this kit; I don't know where to get them
individually but if I find a place I will let you know. I am sure
similar ones are out there. Try Signal Dynamics for a product that
will work equally well. It took me about 6 tries to do this and after
the first cut I honestly was sick to my stomach and had to take a
break. The second cut is a little easier!
will intersect with the lock housing plate). It may look a little
wierd with the plate cut part way off, but that's where this step
comes in. Take your grinder and round down the currently vertical
plate. Then take the grinder and cut a slot between the tube and
where it is welded to the plate (this step is only necessary if you are
using lenses that slip over the frame like I did).
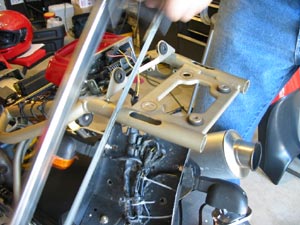
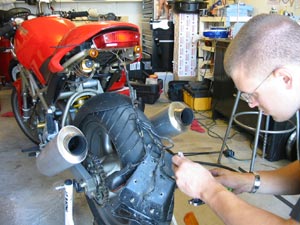
generally inspect your work. Test fit the signals and make sure
the one on the right makes a nice fit in the slot you cut. You can
also see I already mounted the light back and installed a zip tie pull
handle for the seat latch until I can rig up the license lock cable to
the front side.
I found a nice gold marker to match the frame (sort of). You
don't want rust in there.
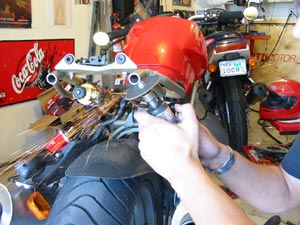
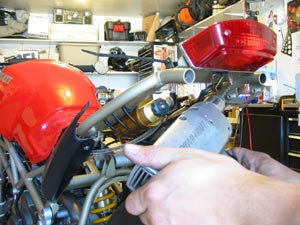
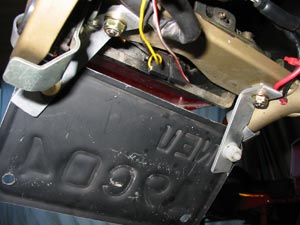
bundle it all up in its new home under the seat (I have already
removed my under seat tray so it was easier for me ;) and zip tie it
all clean, leaving enough room to wire the new signals in. The
license plate light is now delete because the brake light illuminates
it just fine with the plate right under it.
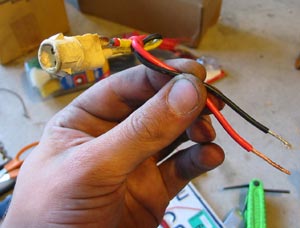
to run your signal wires through. Make it large enough so that the
wires slide in easy and don't rub. Then take a round file and clean
the edge so they don't rub through and short on the frame.

tap the hole for a small machine screw. You may notice the
aluminum trim on the signal lens- I just bent that around the lens
so it gave it a nice finished look.
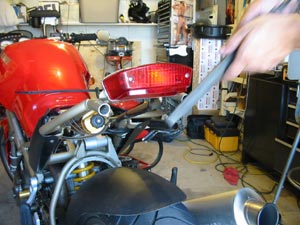
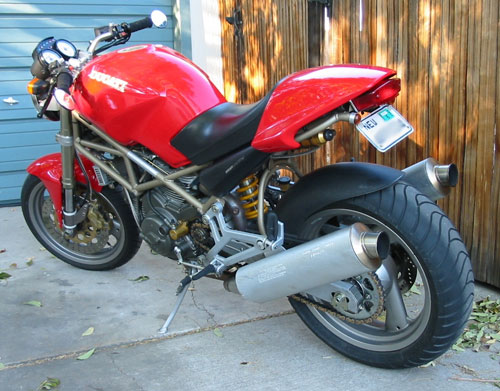
cut in the plate and the signal mounted up in there.
just some aluminum strap bent at an angle outwards and down so
that it can use the existing bolts/holes of the stop light and still line
up flat with the back of the plate.
are those of myself and do not reflect those of Ducati or its affiliates. The "DUCATI" logo and "Circle D" are registered trademarks of Ducati Motor Holding,
S.p.A., all other content on this website is copyright 2006, Monster Man Productions.