ADJUSTMENT
Front and Rear (Straps and Anchors In My Case) 22mm
and 10mm Sockets (For The Chain).
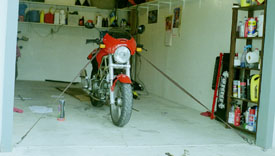
sort of anchoring system to hold the bike in place. The rear suspension
needs to be unloaded and the rear tire really needs to be off the ground
in order to get the arc off easily. Here, the bike is held steady by straps
to each side and a zip-tied front brake lever to prevent it from rolling.
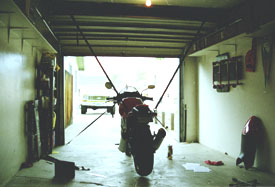
some sort bar and hook system, but it's so much
safer to use straps from the ceiling anchors as shown.
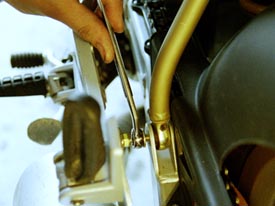
using the mm wrench and mm hex key. It gets tricky here. On the left
side, you can hold the hex key from behind because there is a cutout in
the plastic fender for the chain and the hex key can fit. On the right
side, you need to actually take off the fender fastening bolt and push the
fender out of the way to fit the hex key into the arc bolt.
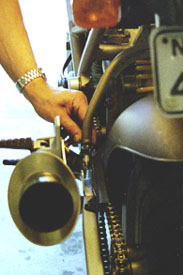
point to raise the rear even further off the ground so that the arc
can swing out of the way without hitting the plastic fender and
swingarm.
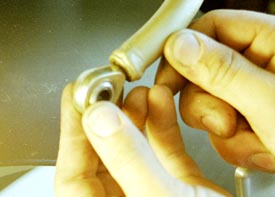
bike- there is supposed to be a jam nut and a couple of threads
showing, but there wasn't. First I needed to set it back to stock.
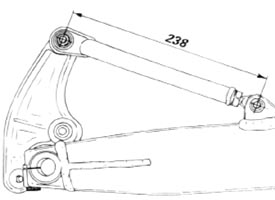
distance between the centerline of the arc joint attaching
bolt and the centerline of the adjuster holes is 238mm.
But, it's a little tricky to measure that with the arc on the
bike.
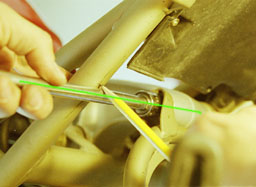
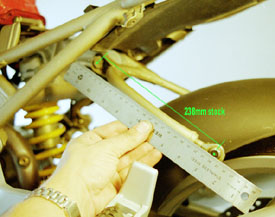
centers of the adjuster holes as shown. Once I got 238mm, I stopped.
That's stock. Next, I screwed out the adjusters 5mm more until there
was a total of 243mm. I definitely would not reccomend more than
about 7mm out past stock. 5mm raised the rear about 1 inch, 7mm
would probably be about 1 3/8".
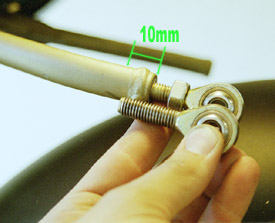
10mm of the adjusters threaded into the arc. This is for safety reasons.
In order for any kind of bolt or screw to work, you need to have at least
the diameter of the bolt threaded into your particular hole. The
adjusters are 10mm, so in order for them to safely hold, they need to be
screwed in at LEAST 10mm. At 5mm out past stock, they still were
threaded in about 13mm, so I'm not worried. You'll also note that I
bought some new jam nuts to replace the missing ones. The jam nuts
add strength to the arc/adjuster coupling.
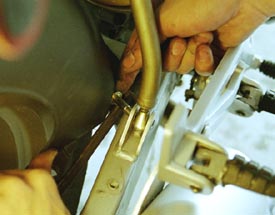
sides are equal, you can lower the bike back down to line up the arc
with the swingarm. Put the bolt and nut back on the left side, then it's
time to fight with the right. As you can see, it's a bitch to get that bolt
back on.
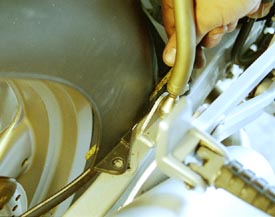
the cutout for the brake line a little further to accomodate the bolt. I
only went just far enough so that the bolt would slide in easily and I
could hold it from behind with the hex key. With the arc back in place
you can't even see what was cut, and it makes it so much easier next
time you adjust the height.
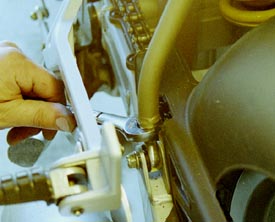
and the jam nuts. Don't overtighten the jam nuts, simply snug them up.
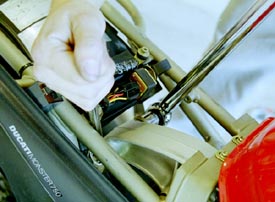
accidentally did- it's not needed), be sure to torque it back to spec.
adjust the chain first, as it is most likely going to loosen up after this procedure.
WARNING- be very careful at first. You won't be ready for the difference in steering, and may lose control if a turn
is taken too fast. However, once used to it you will be thanking yourself for taking the time to perform this mod.
expressed herein are those of myself and do not reflect those of Ducati or its affiliates. The "DUCATI" logo and "Circle D" are registered
trademarks of Ducati Motor Holding, S.p.A., all other content on this website is copyright 2006, Monster Man Productions.