REMOVAL
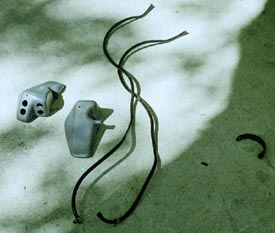
leaving the pods on in case of a fall- I
figured they were for protection as well as
venting. Well, they suck. They won't
protect the side in a fall and they are ugly
as sin. So, I decided to get rid of them
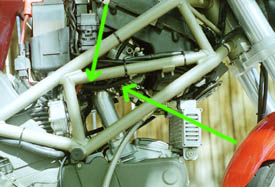
head screw on the underside of the pod.
Once it's out, they come right off.
Be careful, as the hose on this side
is over a nipple and is hard to get off.
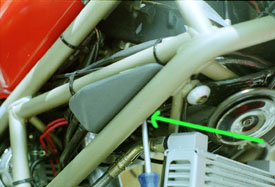
problem, we'll fix that right up. These hoses are vents for
the carbs. There is one for each carb, and there is also a
small cannister filter on each one. You wan't to put these in
a dry place, and also a place where not a lot of dirt will get.
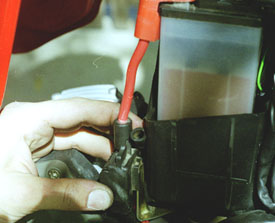
with. I put the right side carb's hose up by the
battery positive cable as shown. When the tank
is closed, it's dry and clean so I don't need to
worry.
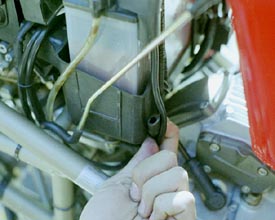
negative cable, as shown. You want to be careful
with the placement of this hose, at it is prone to
kinking up by the filter. Be sure that when you
route it up to wherever, you don't kink it. When I
switched to pod filters, I took off the lower portion
of this hose and the other and routed them out of
the way.
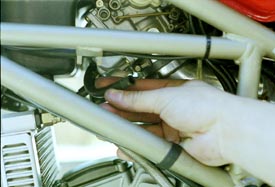
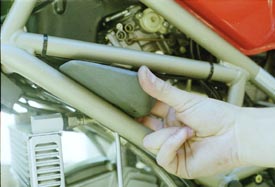
originally went into the left hand pod.
fit quite well. However, I noticed that it leaks fluid (presumably gas
runoff) once in a while, and it got all over my valve cover. So, I
then pointed it down and zip-tied it to the center bar in the frame
(that runs diagonally across the middle right underneath the carbs)
and it hasn't leaked since. I want to get a longer hose and route it
somewhere where it won't get dirty or wet, though. When I did the
pod filters, I combined this drain hose into the two float bowl drain
hoses as shown on the jet kit page.
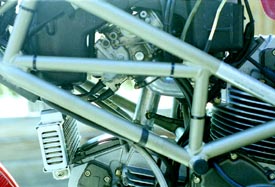
and plugs that were originally hidden by
the pod. Simply push them up behind
the frame and secure them with zip ties.
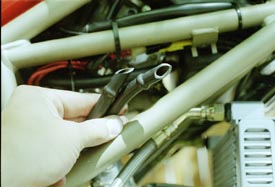
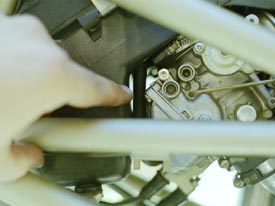
were. Every time I drain my bowls (which isn't very often), I end up
pulling the tubes out of there original routing so I can drain them into a
large gas can. Why not just take them off and put them on only when I
need to drain the floats? Bad idea.
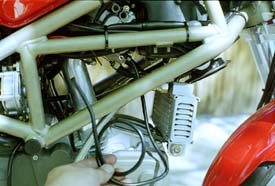
overflow from the floats needs to be able to flow through. So, I took a short length of clear hose and routed them to
my own home-made container. They were only slightly visible, but the setup didn't really work. When I did my jet
kit/pod filter install I combined these hoses with the other drain hose using tees and routed one hose down the side
of the bike as shown here. So, if you've capped off the drain holes, it's a good idea to put the hoses back on. Sorry!
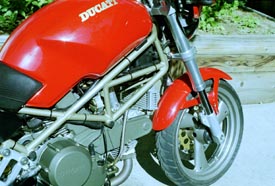
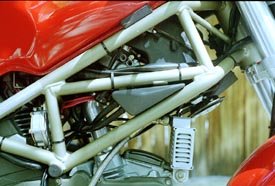
improvement without the
pods, hoses, and drain
tubes cluttering
everything up. Now I can
see those beautiful
intake runners.
always save everything you remove. I can't
gaurantee that this was a good idea at all, just that I
did it and so far have had no problems. I may
eventually decide that I was wrong and put it back
on. So, don't throw the stuff out!
herein are those of myself and do not reflect those of Ducati or its affiliates. The "DUCATI" logo and "Circle D" are registered trademarks of Ducati Motor
Holding, S.p.A., all other content on this website is copyright 2006, Monster Man Productions.