SHOCK INSTALL
Sockets/Wrenches, Torque Wrench, Assortment of
End Wrenches, Multipurpose Grease
Ohlins, but at $600+ I didn't give it much thought. Then I saw a slightly used Ohlins rear
shock from a Ducati 888. Since the Monster frame is a almost a direct take-off of the 888
Superbike, I started doing some digging. I found that the stroke and overall lenght, plus the
hookups and reservoir were the same as for the Monster. Only difference was the spring rate
and damping. Some gurus expressed concerns over the harsh damping being too much for the
Monster because it was originally set up for a heavier bike. But, since I am about 195 with
gear, and the Monster is a more rear-biased bike I decided to be the guinnea pig. Well, I can
tell you after about 2,000 miles that I have had no problems. The shock works great.
Honestly, I wish I could get a slightly stiffer spring so there's not so much sag, as it stands I
have to set the preload mre than I should. In any case, I picked the shock up for $250 and it
bolted right on.
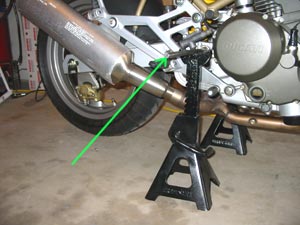
because you need to unload the suspension completely so that the swingarm
drops down enough for the shock to drop out. I used a pair of jackstands
and a solid steel rod that I stuck through the hole in the swingarm pivot.
The rod is supported by the stands, and it allows the swingarm to drop down
and hang there. You can also use straps from the roof to support the
frame, but I think this method is easier.
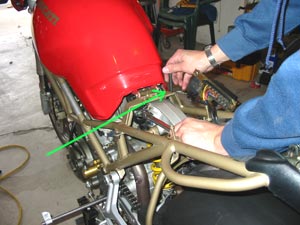
sort of an advanced operation I have to assume you know how to do all
the side ventures. Strip the rear down to gain access to the shock pivot.
This includes removing the rear tray and side panels, etc. Then you can
start to undo the shock bolts.
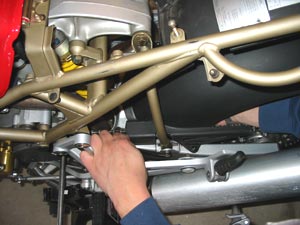
and a allen on the backside of the bolt. Careful, cause once this is
unbolted the swingarm will want to drop down quickly.
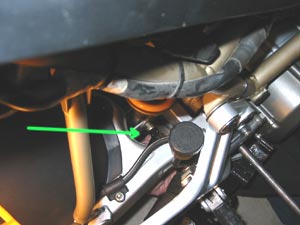
bolt. It's tough, but possible. Once you get it loosened and start to
unscrew it you will notice it starts to run out of clearance.
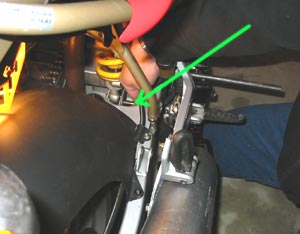
ratchet), and used an 8mm wrench to turn that the rest of the way.
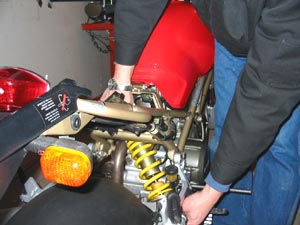
easier to get out than the Ohlins is to get in, so don't pat yourself on
the back just yet ;)
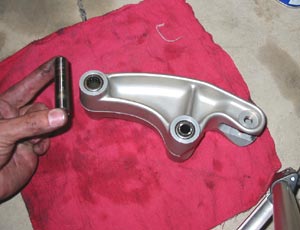
lube service. Remove all pivot shafts and carefully inspect the
needle bearings, etc. Re-grease with fresh lube and clean it all up.
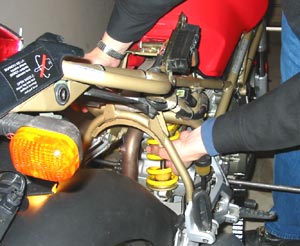
is a good idea in hindsight to tape up the reservoir to prevent
scratches. I wish I would have : (
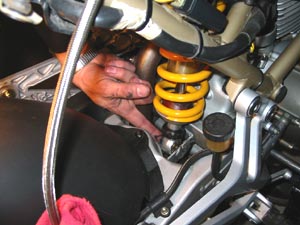
mounts to prevent wear and noise.

your best abilities to guess the torque. A torque wrench
won't fit in there, so do your best.
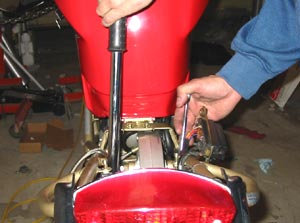
down. The 10x1.5mm bolts/nuts are torqued to 37Nm.
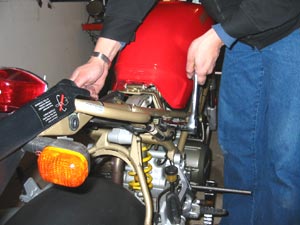
on which one this is, but it's listed as 8x1.25mm threads.
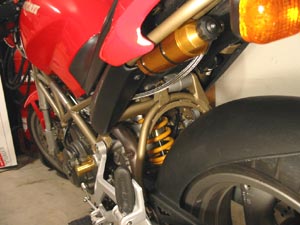
better mount (the one from an 888 doesn't seem to bolt to anything), this
will have to do. Now set the sag and you are done!
and compression damping is enought o control the bike without making it harsh. It is a much smoother unit than the Boge,
and is infinitely rebuildable. There are much more settings as well (about 30 for compression and rebound, compared to the
10 for rebound on the stocker). A great upgrade and if you can find one used (read: cheap), all the better.
herein are those of myself and do not reflect those of Ducati or its affiliates. The "DUCATI" logo and "Circle D" are registered trademarks of Ducati
Motor Holding, S.p.A., all other content on this website is copyright 2006, Monster Man Productions.