REMOVAL
Screwdriver, Knife, Pliers, M5 Screws, Filter, 7/8" Hole Plug,
RTV Silicone
could result in oil being forced out of the breather under certain conditions. This
is not normal, but it is possible, that's why I am warning you. In the event oil is
forced out, it could get on the tire and result in a crash. Again, it should NOT do
that (the breather valve is supposed to let air but not oil out), but it could happen.
Perform this mod at your own risk.
big trouble. But, if still wish to do so, then I am not going to be held responsible for it. Actually, the stuff that you
remove isn't even emissions equipment. The charcoal cannister isn't fitted on most of the bikes anyway, so
depending on where you live (like anywhere but California), it isn't even required. The previous owner bought my
bike in California, so I got stuck with that. The real topper of this stupid thing is that there are two holes in the top
lip of your tank. If fuel overflows, it will go into both holes, but one hole leads to the charcoal cannister, the other to
the ground. What's the point? The other piece of equipment is simply a box that routes fresh air to another box, and
then to your crankcase, and vice versa. The oil residue you see in the airbox is from the crankcase. The air filter
cleans the air that is sucked back down. It burns no combustion by-products (except a little oil vapor, which IMO
isn't a pollutant), and serves no purpose other than feeding filtered air to your PCV valve and allowing the crankcase
to breathe into the airbox, which isn't a problem when you fit the new filter. So, don't think that by removing the
stuff that you are killing the environment.
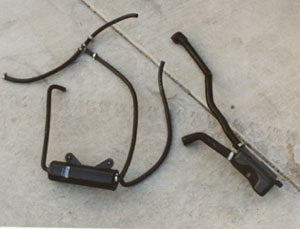
What a bunch of junk, huh? It's really hard to show all
the components while they are on the bike, so this is what
they look like removed. You're not gaining any
horsepower or losing any weight by doing this, but it sure
makes it easier to access your valves, etc.- plus it looks
way trick.
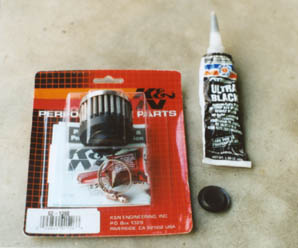
complete the operation. The filter is a 2" diameter K&N "Race
Style" that goes directly over a 3/4" tube (the PCV tube), part
number KNN-62-1360. I got it at Summit Racing for under $20.
If there wasn't a Summit Racing shop where I live, I would
have got it at Evoluzione Cyclesports. You also need a 7/8"
flush mount plastic hole plug to fill the hole in the airbox, some
RTV silicone, and two M5 metric screws about 1/4" long (not
shown).
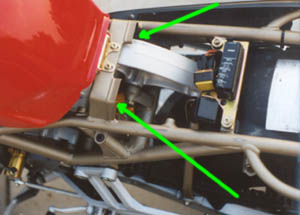
First, lift the tank. Then remove the two side panels to
access the bolts holding the cannister on. They're in there
tight, but a wrench can get to them- it's easier to attack
from the top, rather than try to loosen the bottom nuts.
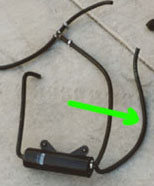
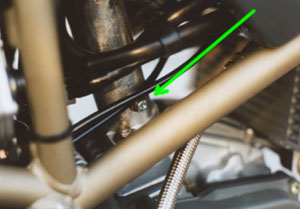
down). You can do two things here. One, you can leave the hose off completely. The
problem with that is that when gas goes down the tube and into the hole that once had the
line attached to it, you will instead get gas all over the underside of the tank. A better
choice is to get another clear vent line and route it down along with the other, which is what
I did (pics below). Even better- get a plastic "Y" type connector and splice it into one line.
Then put a short length of hose where the tube you just took off was and splice the two
lines together. It's one less hose clogging things up.
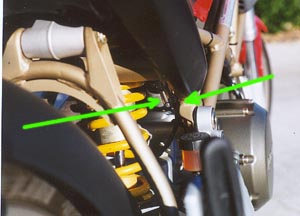
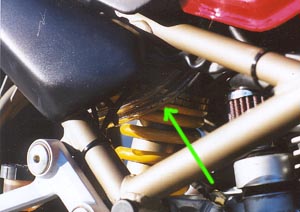
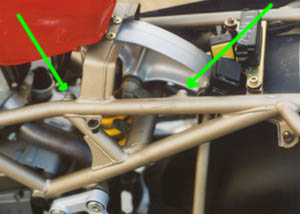
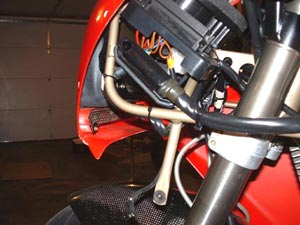
and routed them in an arc back toward the wheel. The second pic shows about where they exit.
Note that they don't go down between the swingarm and engine because when they were there,
they would be too long and kink whenever I lifted the tank. Now the ends are supported by a zip
tie on the frame, and they don't kink when the tank is lifted- they keep their natural arc.
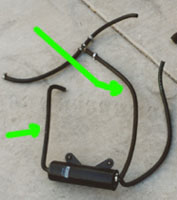
runners. It splits into a "T", with one line running to a
plug in each intake runner. Pull the hoses off the plugs.
The only other line from the cannister is nestled under the
head and isn't attached to anything. You should be able to
pull all of this stuff out now.
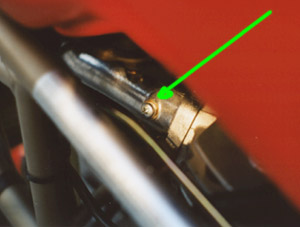
vacuum cap and put it over each plug, and then hose clamp them so they are super tight. I found this to be ugly
and ineffective. The caps deteriorated and led to an air leak and poor running. So, what I did was find two small
wide head metric screws (M5 size) and put them where the plug with the hole used to be. The plug with the hole
simply unscrews out of the runners. I took the new screws and ground them down to the same length as the
original plugs, coated them with RTV silicone, put the original washer on, and screwed them in place. It is much
cleaner looking. Whichever way you choose, be sure there are no air leaks at all, or the bike will run rough, etc.
kit from Evoluzione, or a local speed shop (but I doubt just any speed shop will carry this exact filter). Evoluzione
sells the mini K&N filter or their own filter, which is red and green. This goes directly on top of the PCV valve.
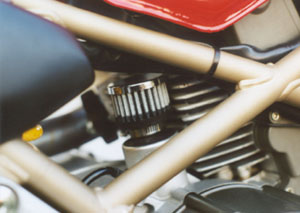
attach the filter to it. Not much
explanation needed here. This pic is
without the K&N oil, that's why it's not red.
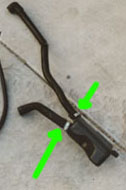
intermediate air box on. Again, they're kind
of in there tight. Also, take the hoses off of
the intermediate box. If you don't, the box
won't be able to clear the shock bracket, and
it will be stuck in there. Once that's undone,
you can take the end of the hose out of the
air box and pull all that stuff off.
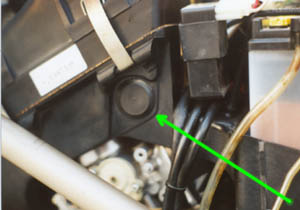
airbox. I found a 7/8" flush mount
hole plug at the local hardware store
for under a buck. It fits perfectly in
the hole that the PCV tube used to
occupy. Once in, you'll want to run
some RTV silicone around the edge to
keep water out.
presents problem (namely clearance with the exhaust and fitment into the airbox of the plug), here's what to do:
Rather than mount the filter directly to the case, you need to cut the hose that comes off the PCV valve about 3
inches up, then use a 3/4" male connector to connect the hose to the filter, that way it doesn't hit the exhaust. As for
the tube going into the airbox, you can get creative with a rubber stopper. Take a big one, then carve it into an oval,
then carve a groove down the middle of it, that way it sits in there tight and won't fall out.
cleans the bike up. You know, it almost feels faster already : )
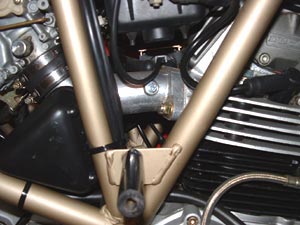
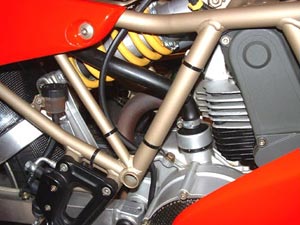
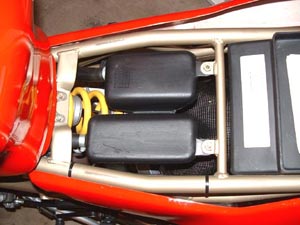
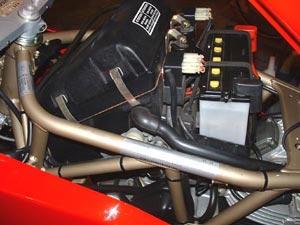
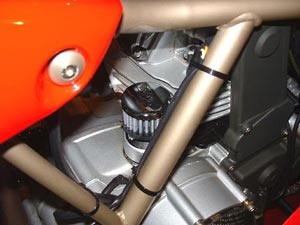
One reader was kind enough to send pics of how it will look when
doing this to a Supersport, same process, slightly different
arrangement:
are those of myself and do not reflect those of Ducati or its affiliates. The "DUCATI" logo and "Circle D" are registered trademarks of Ducati Motor Holding,
S.p.A., all other content on this website is copyright 2006, Monster Man Productions. If you would like to link to my page, feel free to do so.
