MADE EASY
and Bug Remover (optional), Armor-All (optional), Soft
Cotton Rags, Chrome Polish (optional), Aluminum Polish,
Cleaner Wax (optional), Regular Wax and Wax Applicator
Pads.
results with a little bit of time and attention to detail. Plus, it's practically free!
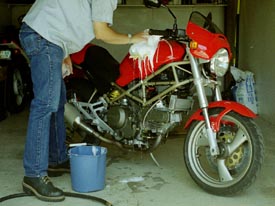
The first step is to get the bike in the shade. I do all this in my garage.
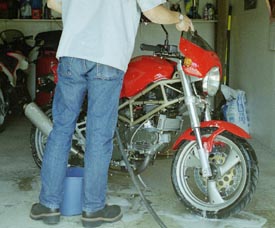
control over the water going everywhere. I use just
a little trickle and carefully wash away all the soap
residue. Don't spray the water into any crevices or
the exhaust either.
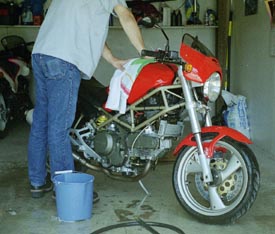
clean cotton towel. The key when drying is to be gentle- you
don't want to try to buff off stubborn crud with a dry towel-
that is what the cleaner wax is for.
you don't have a compressor use one of those compressed
air cans for computers) to blow out all the water lurking
in the cracks and crevices. Pay special attention to the
brakes, engine, and gauge/throttle area.

water you just sprayed out with a clean cotton towel.
Make sure you get in the fuel tank filler area- water
loves to hide in there. Also get all the water from
the throttle area, etc.
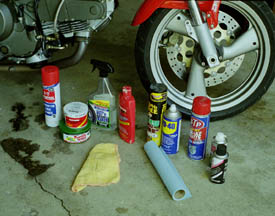
need brake parts cleaner, wax (Turtle Wax is good), cleaner wax
(Mother's is good), tire shine (optional, I prfer not to use it on
my bike, but if you want to be sure to only use it on the sidewall
that doesn't contact the ground- it's slippery and can cause a
crash), tar and bug remover (be sure it's safe for clear coats),
aluminum polish (Mother's works best), WD-40, spray polish
(such as Honda Pro Polish), polishing rags, paper towels, chrome
polish, and a wax applicator.

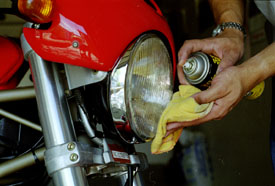
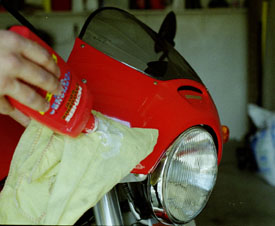
Honda polish. It's not as abrasive as the wax, but
you still need to be gentle or scratching will occur.
Sometimes I skip the windhsield if there's no bugs
on it. Just spray it on a clean cloth and wipe the
windshield clean. It usually doesn't require buffing.
remover to remove the pesky insects. Avoid contact with painted
surfaces, and if it gets on any you should wax it or rinse it off
(that's why I wait to wax it). It shouldn't harm the paint, but
there is a warning that it shouldn't be left on for long periods
without rinsing it off.
the chrome polish. Put it on a rag and
massage it into the chrome. Wait for
it to dry and then buff it with a clean
rag.
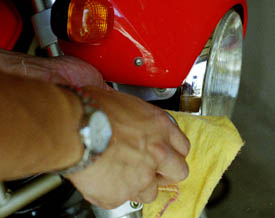
the fork legs and other aluminum areas on the bike. It
won't make a huge difference if the bike is cleaned
regularly, but on a neglected bike it will make the metal
shine like new. Just work it into the metal, wait for it to
dry then buff off.
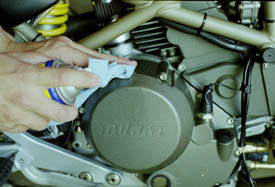
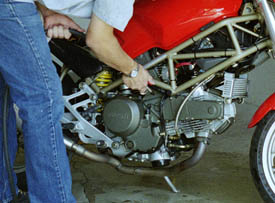
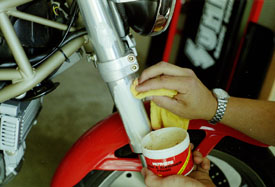
grease from the engine. WD-40 is a good
chemical for this because it won't stain the
surfaces and it's not harsh, yet it cleans well.
some WD-40. It takes the gunk right off.
polishing rag and buff it off, again in a
front to back (windflow) motion.
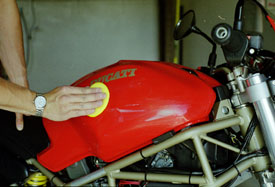
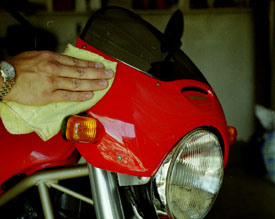
the normal wax and again apply it into the paint in a
front to back motion along the length of the surface.
Don't grind the wax in, but give it a little 'polishing'
action until it dries.
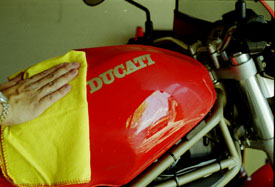
clean polishing rag. Keep turning the
rag as it builds up with wax. Again, go
from front to back to negate any
swirling of the paint.
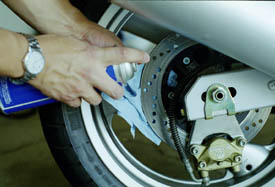
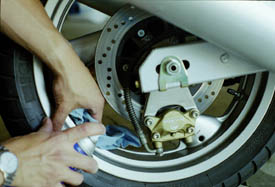
wax, WD-40, or polishing residue from the brake rotors.
That stuff gets everywhere, which is why this is the last
step. Place the paper towel behind the rotor and spray it on,
being careful not to touch ANYYTHING else with the
cleaner. Talk about corrosive.
gentle with the paint and careful with where you get the water and everything should fine.
are those of myself and do not reflect those of Ducati or its affiliates. The "DUCATI" logo and "Circle D" are registered trademarks of Ducati Motor Holding,
S.p.A., all other content on this website is copyright 2006, Monster Man Productions. If you would like to link to my page, feel free to do so.